Organizing a storage shed may seem like a bit of a daunting task, especially if you have a lot of equipment that you haven’t sifted through for a while. Luckily, we have some storage shed organizational tips to help you sort your shed and make the most out of your space.
Empty it Out
Unless you’re starting from scratch with a new storage shed, it’s best to start off your organization project by emptying out your shed. Separate all of your equipment to determine which items you need to keep in the shed and which items you don’t.
If you have any equipment that you rarely use, consider donating it or storing it elsewhere to free up some space. This is also a great time to get rid of any junk that’s been sitting around in your shed. While this part may take a little while, it’s beneficial to get a good idea of which items you’re working with before you begin to create an organizational system.
If you’re having a hard time cleaning out your items, consider first putting them into quick piles. For example, “Definitely Toss”, “Give/Sell”, and “To Be Determined”. If you find something that you know you don’t need, like rusted tools, put them in the toss pile. For things that are still good, but that you don’t need, place them in the give/sell pile. For example, duplicate items you got as a gift but already own can be donated or sold.
The “to be determined” pile is for any object that gives you pause. If you can’t make a snap judgment about something, then it should go here. This may very well end up being your largest stack! But going through everything else first will give you the time you need to think over these items later.
Sort the Remaining Items
While you have the remaining items from your storage shed laid out in front of you, gather your tools and equipment to create categories. Group similar items together in a way that makes sense to you, and in the way that you’d like them to be stored in your shed.
For example, you could group your equipment by season by keeping all of your winter equipment in one spot, summer equipment in another, and so on. There are tons of different ways to sort your equipment, so find a method that works for you.
Make Use of the Walls
Now that you have your storage shed cleaned out and your items sorted, it’s time to begin moving everything back inside and organizing it. For starters, it’s a good idea to use as much wall space for storage as possible, if you aren’t already. Here are a couple of ideas for taking advantage of the wall space inside your storage shed:
-
Hang up your long-handled tools. Instead of standing your rakes and shovels up in a corner or laying them on the ground, save space by hanging them up on the wall. You can either purchase a tool hanger from a home improvement store or get handy with a DIY tool rack. This can be as easy as using a 2 x 4 board and some nails or PVC pipe to make your own tool holder.
-
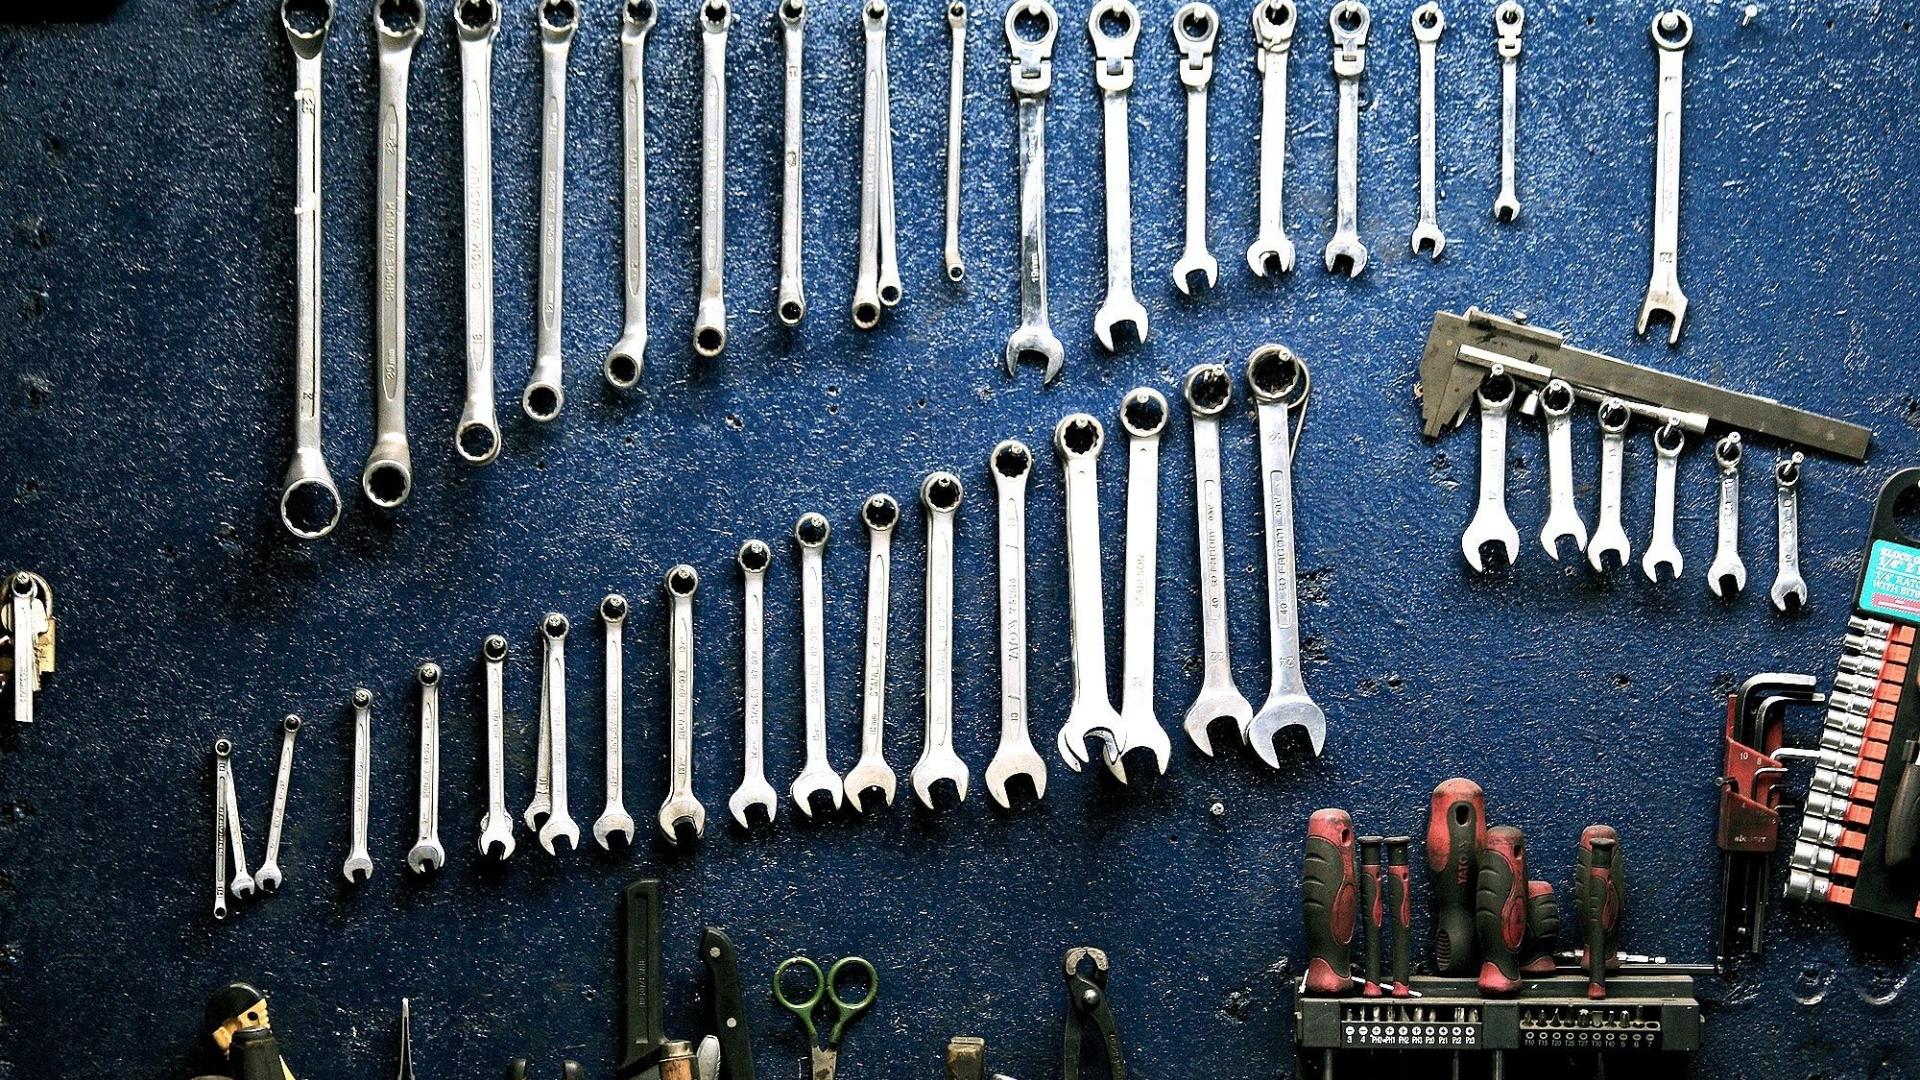
Utilize pegboards. When hung on the wall, pegboards are great for organizing your storage shed. One option is to stick some small hooks into a pegboard to hang up your handheld tools like screwdrivers and wrenches.
Add Loft Space
Installing a loft in your shed is a surefire way to gain some valuable extra storage space. We recommend U-Lofts, which are built around the shed’s perimeter, overlooking the workshop. They’re easily accessible overhead, and really allow you to make the most of every inch of your shed space.
Use Jars for Storing Small Items
Glass canning jars, like Mason jars, make an excellent place for storing screws, nails, and other small hardware that may otherwise get lost. You can even hang them up by attaching the lid to the underside of a wooden board or shelf; just twist the jar on and off! Or, remove the lid and use the jar to store paintbrushes, screwdrivers, writing utensils, and more.
Reuse and Repurpose
You’d be surprised at how many items around your house can be repurposed and used for storage shed organization. Wooden pallets, for example, are extremely versatile and can easily be turned into tables, racks, storage bins, and more. Or, repurpose some empty paint buckets to make handy storage caddies.
Don’t Forget About the Doors
When it comes to freeing up space in a shed, many people often overlook the fact that the doors can be used for storage, too. Add some hooks, small shelves, or wire baskets to the back of your shed’s doors, and you’ve got a convenient spot to store some of your smaller, most used tools. This way, you’ll be able to access what you need most without even having to go inside your shed.
Add Open Shelving
If you’re left with limited space in your storage shed, open shelves are a great way to free up some floor space. If you have lots of totes or storage bins in your shed, consider purchasing some tote shelving for a better use of available space. If you’re on a budget, you can even build shelves yourself with some plywood!
Use Your Creativity
There’s no right or wrong way to organize a storage shed. What matters is that your equipment and tools are organized in a way that works for you and your needs. So, don’t be afraid to get creative or imaginative to save space - the options are endless!
If you’re in need of some more information on how to organize your storage shed, check out our “Additional Storage” page or check out our blog for more storage organization tips.

